If your shower water has started smelling stronger, your taps are slowing down, or your filter housing looks overdue for attention, you are probably asking how to replace whole house water filter system parts without creating a bigger plumbing problem. The short answer is that some filter changes are straightforward, but not every replacement should be treated as a simple DIY job, especially when your system protects every tap in the home.
A whole-house system sits at the point of entry, which means any mistake affects your drinking water, bathrooms, laundry, hot water service and appliances. For many Perth households dealing with chlorine, sediment and hard water, staying on top of replacement intervals is part of protecting both wellness and the home itself.
When replacing a whole-house filter is simple and when it is not
There is an important difference between replacing filter cartridges inside an existing system and replacing the whole system itself. If your housings, bracket, pipework and isolation points are all in good condition, a cartridge change may be all that is needed. That usually means removing the old cartridges, cleaning the housings, checking the seals and fitting the correct new stages.
If the unit is leaking, the housings are cracked, the pressure has dropped sharply, the system is undersized, or the plumbing layout was never set up properly to begin with, the job moves beyond routine maintenance. In that case, replacement is less about swapping filters and more about restoring safe, reliable performance. That is where a licensed plumber matters.
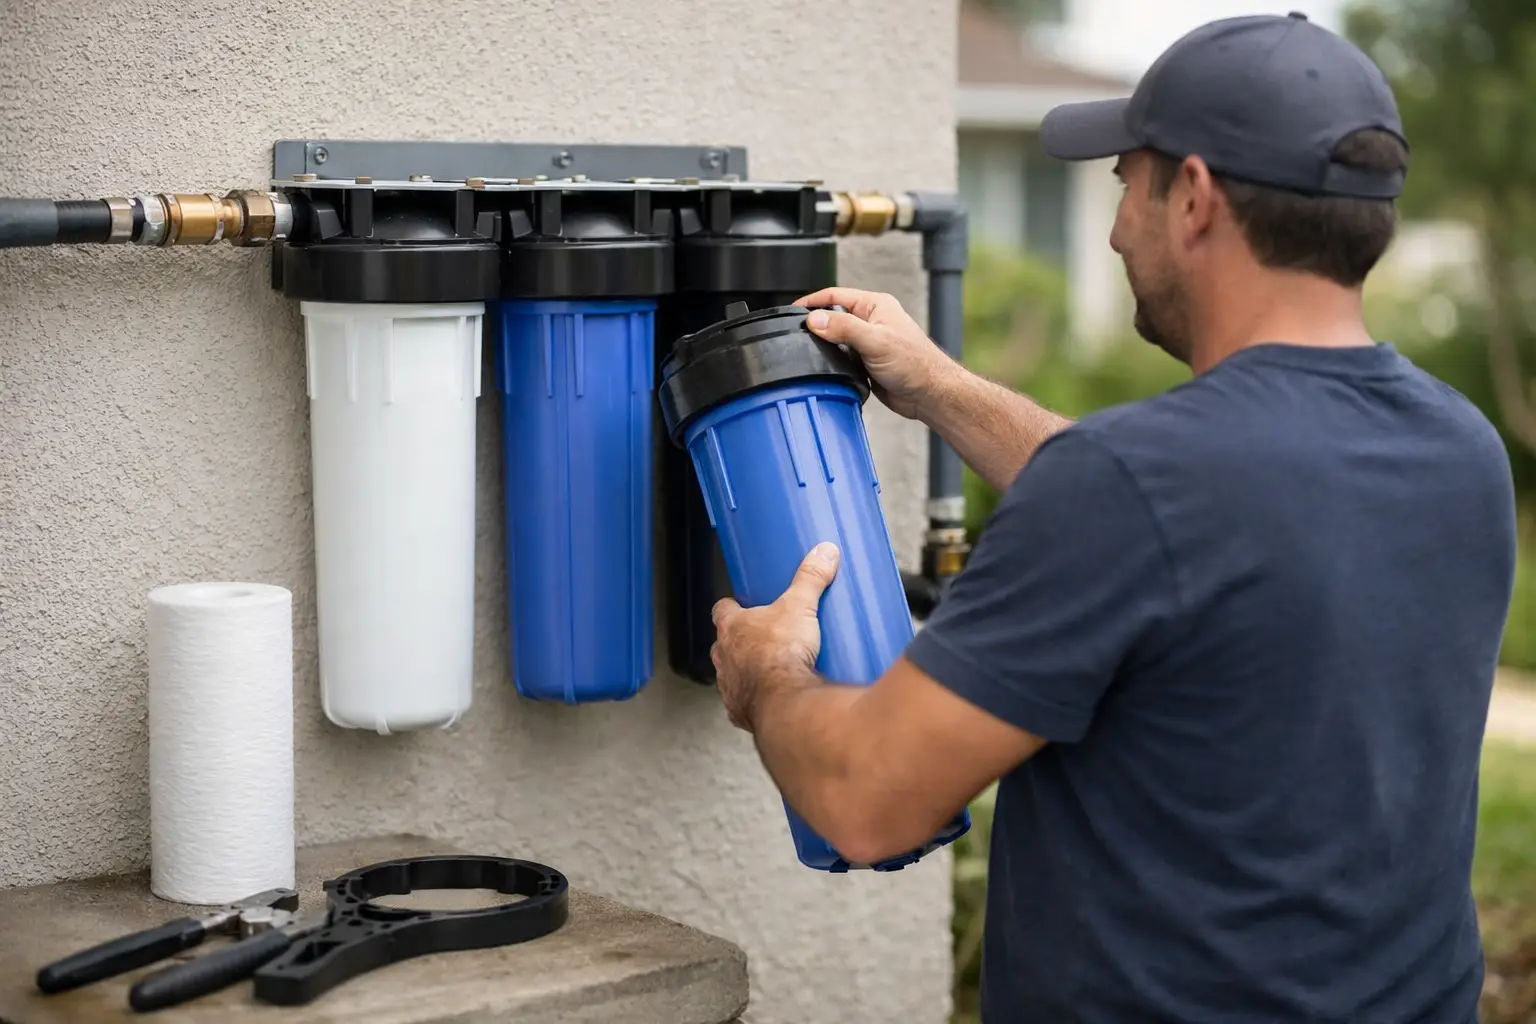
How to replace whole house water filter system cartridges safely
If your system is designed for cartridge replacement and is in otherwise sound condition, the process should be approached carefully. Start by confirming the exact cartridges your system requires. Stage order matters. A sediment or pleated pre-filter is not interchangeable with a carbon block stage just because it fits the housing. Using the wrong cartridge can reduce filtration performance, restrict flow or shorten the life of the other stages.
Before opening anything, shut off the mains water supply to the filter system. If your setup includes isolation valves on both sides of the unit, close them fully. Then relieve pressure by opening a nearby tap. Skipping this step is where many homeowners come unstuck. Pressurised housings can be difficult to open and messy once loosened.
With pressure released, use the housing spanner to unscrew each canister. Keep a bucket and towels nearby because some water will spill. Remove the old cartridges and inspect the inside of each housing. If there is slime, heavy sediment or staining, clean it thoroughly with a food-safe method suitable for filtration components. Rinse well before reassembly.
Next, inspect every O-ring. A worn, flattened or twisted seal is a common cause of post-replacement leaks. If it looks dry or damaged, replace it. If it is still serviceable, clean it and apply a suitable lubricant approved for potable water systems. Then seat it correctly in the groove before reinstalling the housing.
Fit the new cartridges in the right order and orientation for your system. In many three-stage setups, water passes through a sediment stage first, then a scale or speciality carbon stage, then a final carbon block stage. The goal is to protect the finer media downstream while improving taste, odour and overall water quality throughout the home.
Hand-tighten the housings firmly, then restore water slowly. Do not snap the valves open all at once. Let the system fill gradually so you can check for leaks around the seals and threads. Once the water is back on, flush the system according to the cartridge manufacturer’s instructions. Carbon cartridges often release harmless fines on first use, so flushing is not optional if you want clean, clear water from the start.
How to replace a whole house water filter system, not just the cartridges
Replacing the entire system is a different job. It may involve shutting down the water supply to the home, cutting pipework, removing old brackets and housings, repositioning the new unit, reconnecting fittings, pressure testing and confirming compliance. If your existing installation has no bypass, poor access or ageing valves, the job can become more involved than it first appears.
This is also the point where system selection matters. A replacement should match your home’s water demand and local water conditions. Perth homes often need a solution that addresses chlorine, sediment and scale while still maintaining decent flow to showers, appliances and multiple taps running at once. A system that is too small can create pressure issues. One that is not matched to your water profile may leave the original problem largely untouched.
That is why many homeowners choose a supplied-and-installed service rather than buying parts and hoping everything lines up. A professionally installed system removes the guesswork around sizing, compatibility and workmanship. It also gives you confidence that the replacement is not only fitted properly, but performing as intended across the whole home.
Signs your whole-house system needs replacement
Not every filtration issue means the entire unit is finished, but some signs should not be ignored. Persistent leaking from the housings or head assembly is one. Repeated pressure loss after cartridge changes is another. Cracked sumps, corroded brackets, brittle fittings and damaged threads all point to a system that may no longer be worth patching.
You may also have outgrown the original setup. A small unit installed years ago might struggle in a larger household, particularly if bathrooms, appliances or occupancy have increased. If your water still tastes strongly chlorinated or your skin and hair feel dry even after regular cartridge changes, the issue could be system design rather than maintenance alone.
Common mistakes homeowners make
The biggest mistake is assuming all cartridges are interchangeable. They are not. Micron rating, media type and stage placement all affect how the system performs. Another common issue is overtightening housings. This can damage threads or distort O-rings, which then creates leaks.
People also forget to sanitise or properly clean the housings during replacement. Fresh cartridges installed into dirty canisters do not give you a clean reset. And then there is timing. Leaving cartridges in service too long can lead to reduced flow, poor taste, pressure drop and unnecessary strain on the system.
A more serious mistake is treating plumbing work as cosmetic. Once you are replacing housings, valves, brackets or pipe connections, you are no longer just changing a filter. You are working on the home’s main water entry point, and that has implications for safety, compliance and long-term reliability.
How often should you replace whole-house filters?
It depends on the system, the filter media and your water quality. Homes with higher sediment loads, bore water, rainwater inputs or heavier household usage may need more frequent replacement than homes on relatively stable mains water. A three-stage system often has different service intervals across the stages, so replacing everything on a fixed guesswork schedule is not always the best approach.
The smarter approach is to follow the recommended maintenance window for your specific setup and adjust if your water conditions demand it. If you notice changes in pressure, taste, smell or water clarity before the due date, it is worth having the system assessed rather than waiting it out.
Why professional replacement is often the better choice
For many households, the real question is not simply how to replace whole house water filter system components. It is how to do it without risking leaks, poor water quality or an underperforming setup. A licensed plumber can isolate the true issue, whether that is exhausted cartridges, a damaged housing, poor system sizing or a more complex plumbing fault.
There is also a convenience factor that matters. Most homeowners do not want to spend their weekend wrestling with stiff housings, sourcing the wrong cartridges twice, or mopping up after a seal failure. They want cleaner water at every tap and confidence that the job has been done properly.
That is where a service-led approach stands out. With Aqua Mantra Filters, replacement is not treated as a box on the doorstep and a set of instructions. It is handled as part of a complete home water solution, with the right components, the right setup and installation carried out by a licensed plumber.
If your current unit is due for maintenance, showing signs of wear, or simply not delivering the water quality your household expects, the best next step is a proper assessment. Clean water should feel easy, and when your whole-home system is set up and maintained correctly, it usually does.